Leaf Peeping from a Kayak
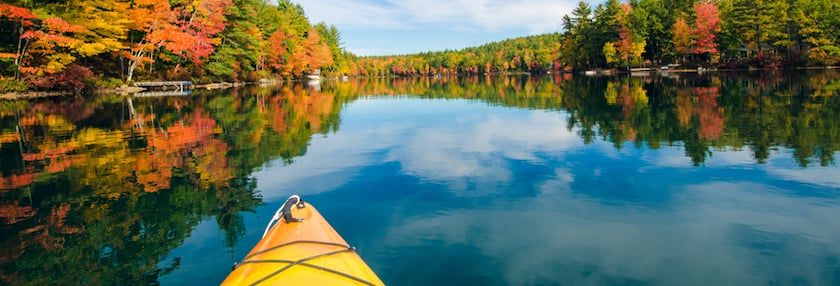

Get the best autumn views, up close and personal
Autumn is a magical time to be outdoors. Trails get crammed with hikers, cameras swinging from their necks. But to get the best photos—along with a beautiful experience—take to the water!
Kayaks are light, sturdy, safe, and convenient for a solo rider. While streams and rivers are considered public property, up to the high-water mark, manhandling a larger watercraft is impractical. Slipping a kayak into the water under a bridge, from public land or on private land (you have permission, right?) sets the table for an adventure like no other.
Getting on the water
There are two styles of kayaks that are commonly used, sit-on top and sit-in.
Sit-On: The sit-on top kayak allows the paddler to sit on a sling-backed seat on top of the craft. Foot slots near the bow allow for taller or shorter users to stretch out their legs. Advantages this style has is getting on and off is easier, along with escaping from an overturned craft. Beginners usually find the sit-on style to be easier to use. Common disadvantages: the rider will often get wet and the paddler is higher, making the person’s center of gravity above the water.
Sit-In: Sit-in style kayaks have a cockpit that the user sits in, protecting the craft from waves and spray. The center of gravity is lower, and the craft glides through the water faster. Disadvantages may include difficultly getting in and out, and the craft can easily fill with water if capsized.
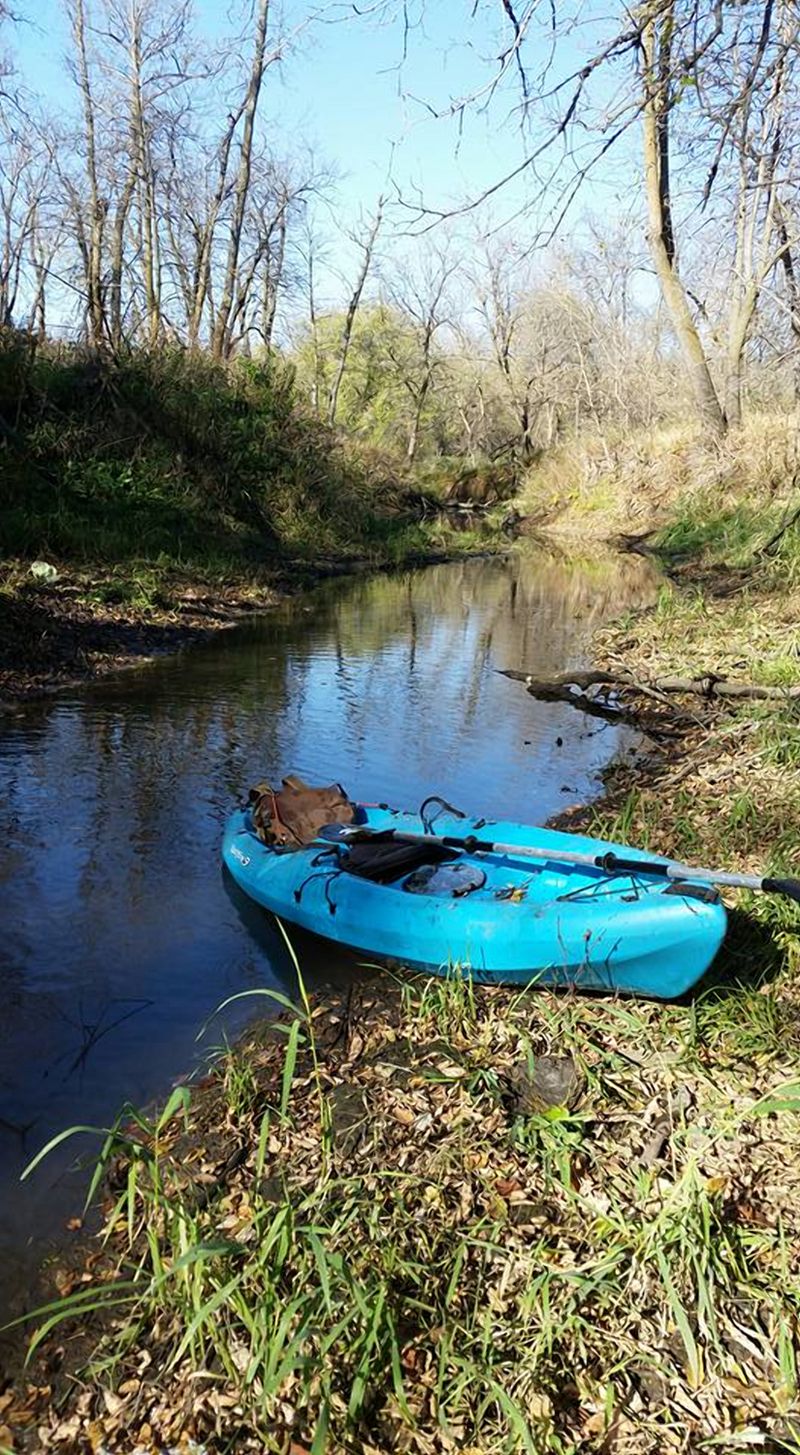
For leaf peeping, I choose a 9-foot-long sit-on kayak and wear a pair of neoprene chest waders when floating. The waders keep me warm and prevent cold water and mud from freezing me out when I get on and off the craft.
Both styles of kayaks can be purchased quite inexpensively; used kayaks are often a great bargain. Many local sporting goods stores have kayaks on the floor, but find a salesperson who actually uses one for the best recommendation.
Paddles: Paddles are a requirement for a kayak and can be purchased inexpensively. The length of the paddle is directly associated with the width of the kayak and the height of the user. A wider kayak and/or taller paddler will need a longer paddle.
The most expensive paddles are made of carbon fiber and are very light. For a beginner, simpler is better. Aluminum shafts with plastic blades are durable, and inexpensive. Tip: invest in a paddle leash, a simple rope attached to the paddle, to save a paddle from drifting away should it get away from the paddler.
Playing it safe
It pains me to admit I am a poor swimmer so I take great pains to be safe on the water. Even if you are an Olympic-style swimmer, cold water and underwater debris in a lake or river can pull the swimmer under.
The water can hide rocks, downed trees, springs, and many other potentially dangerous obstacles.
Getting in and out of any style kayak is the most difficult and dangerous part of the float. A personal flotation device, sized accordingly, should always be worn before even approaching the water.
If you are new to kayaking, a trial run should be done in a lake or backwater of a river with no wind or current. Get used to paddling, entering, and exiting the craft, and feeling safe on the water.
Ideally this will be done during the summer, with warm air temperatures and warm water.
Planning a route
Google Earth or other Internet mapping programs makes planning a route easier than ever. If the float is going through public lands, there are often materials online about tree species distribution and peak times for fall foliage.
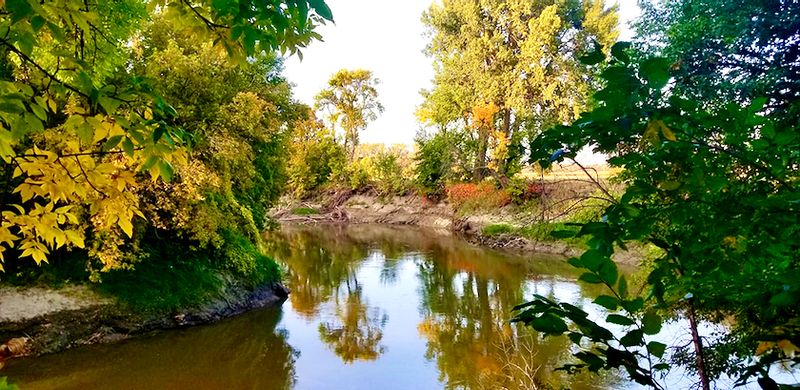
Put-in and take-out points are generally at bridges, though some rivers offer public launches.
Private landowners will sometimes allow access to the water as well, as long as there is no mess
left behind and the land is treated with respect. It never hurts to knock on a door to ask.
I always leave a note on the dash of my truck explaining that I am kayaking and will be back to my truck that day.
It does not take much water to float a kayak so even smaller creeks and tributaries can offer surprising beauty. I’ve floated trickles barely large enough to maneuver in, with no worries of running into anyone else!
A decision must also be made if you will be floating from a put-in point to a take-out point, or if paddling back up current is worthwhile. Kayaks have a shallow draw in the water and can quite easily be paddled against the current.
Paddling back to the put-in point allows a soloist to enjoy the day without needing another car or pickup driver at the end of the route. Of course, a pair of kayakers can leave a car at each location.
Photography rules…
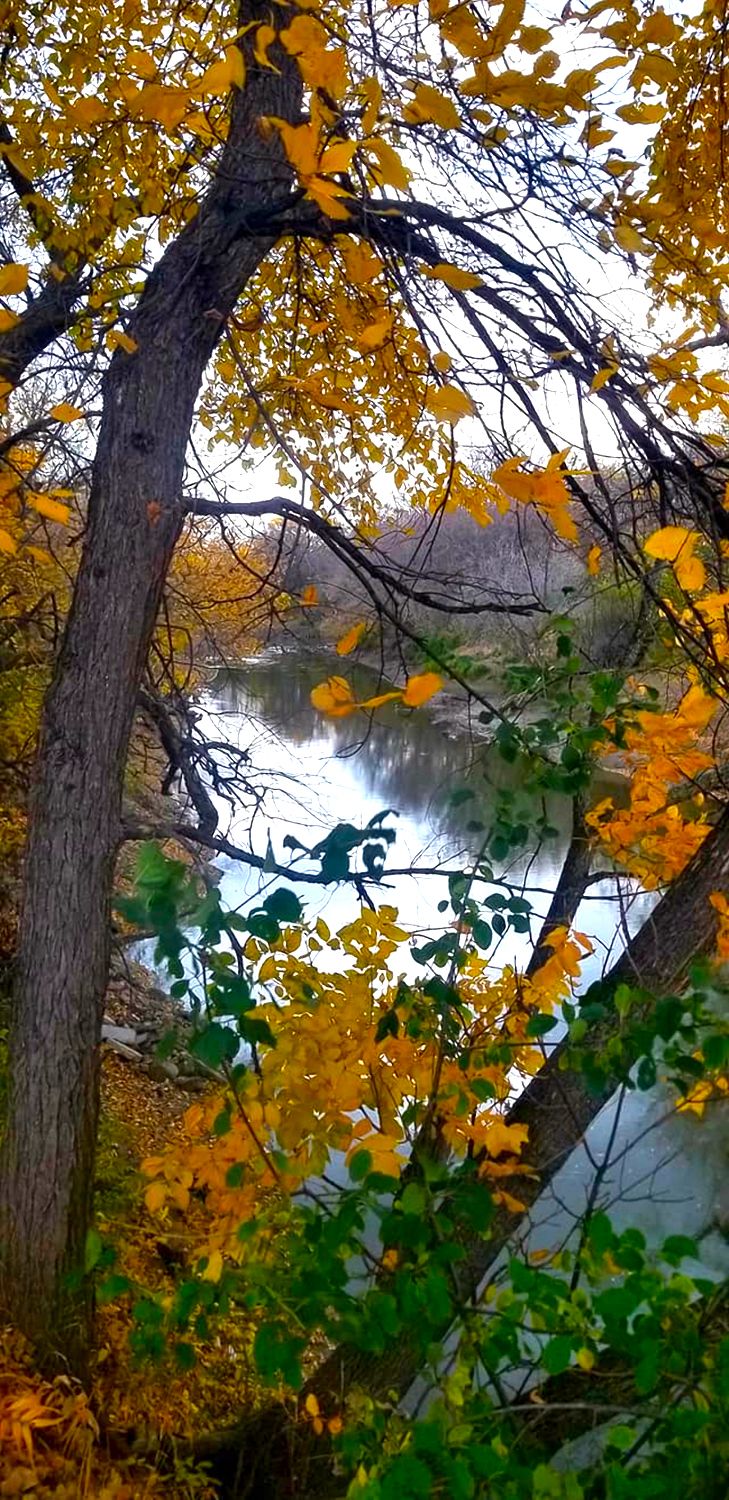
Shore-edge views with fallen leaves floating on the current and a riot of color reflected in the water beg to be captured for posterity! Today’s cell phone cameras can take fantastic photos. Point-and-shoot cameras and DSLR cameras offer professional level images, and the low angle from the kayak seat is a seldom-seen view.
The camera, and any other gear, needs to remain dry to be functional… and it is an expensive tool that can be dropped or gotten wet very easily. Dry bags are a necessity, and leashes that attach to the bag equally as important.
Some photographers are comfortable floating and shooting, but I’m not.
I will float up to a fallen tree, a still riffle, or sandbar to stop the boat. I won’t move the kayak again until the camera is safely stowed away.
If you have permission to access the shore, photographs can be taken from there to provide a variety of angles. Simply beach the kayak on a sandbar or a gentle spot on the bank and hike up to get a higher view of the scene.
…but Nature engages
The amount of wildlife you can encounter when floating quietly is amazing. Besides whitetail deer, wild turkey, and beaver, don’t be surprised to encounter otter, mink, red fox, and a myriad of bird species.
I’ve seen nearly every duck that is native to North Dakota as well as belted kingfisher, green heron, pileated woodpeckers and too many to name them.
Rivers are home to an amazing number of different critters and a kayak can the best way to explore your local river.
Tags:Features

Acreage Life is part of the Catalyst Communications Network publication family.


