


Building an Affordable Greenhouse
DIY Greenhouse Tips for Your Acreage


Why We Chose to Build Our Own Greenhouse
If you’re a home gardener, homesteader or just a plant lover, you have no doubt dreamed of having a greenhouse of your own. We grow a lot of our own vegetables right here on our homestead, so a greenhouse is almost a necessity for us. We have tried a few of the kits on the market, but none have lasted as long or have been as sturdy as the ones we’ve built.
The second greenhouse we built cost us pennies on the dollar compared to a store-bought kit, and will hold strong for years to come.
Basic Tools Needed
We used a few basic tools that we already owned, and the majority of households probably have on hand. If not, you likely know someone who will let you borrow them. You’ll need a tape measure, drill, saw horses and a skill saw, along with screws.
Using Reclaimed Materials and Community
I’m a big believer in reduce, reuse and recycle, not only as a homesteader but as a good steward to the planet. I love anything second-hand and using reclaimed materials. The best way to gather materials for your project will be to ask around.
Many of us are on social media these days, and that’s a wonderful place to start. A quick post on your page can lead to finding cheap deals or even free supplies. When people in your local community know what you do, they’ll start reaching out when they have something you could use. Accept these offers; there’s always another project on the horizon.
Patience plays a significant role here, as you may not collect all the materials at one time. I suggest planning ahead and thinking through what you may need.
Sourcing Windows and Planning the Structure
We put out the word to friends and family that we were looking for windows. Any shape or size will work, depending on your building skills. If you’re not very adept at building, I would suggest looking for multiple windows of matching sizes.
The number of windows you’ll need will depend on the size of the greenhouse you plan to build. The windows we were given were six feet by six feet, so we planned out the size accordingly.
To be the thriftiest will require you to be lenient and willing to change up your plans. Our finished product came out to approximately seven feet tall, 16 feet long and six feet wide, which incorporated both windows.
Why We Chose a Lean-To Greenhouse
You may be wondering why there are only two windows. That’s because we went with a lean-to, one of the classic building techniques. If you have an available exterior wall, constructing a lean-to greenhouse will simplify the whole process. It gives you a solid starting point to build off of, and it’s one less thing you’ll need to construct.
Framing With Reclaimed Wood
After the windows, we went to gather up reclaimed wood. We were lucky enough to have a neighbor doing construction who offered us a pile of extras. If anyone offers you free wood, accept it and find a place to store it. It will always come in handy for future projects.
Our pile consisted of some two-by-six-inch, a few two-by-four-inch and some two-by-two-inch boards. We started by attaching our one-by-six-inch boards to our existing wall at the desired height, then we started building the basic framework with our two-by-fours. We framed up the windows using two-by-six-inch boards on both the top and bottom and then fit the outer edges with plywood to close in any gaps.
As you start putting the frame together, it’s normal for the greenhouse to look a bit rough; don’t worry, this “ugly duckling” stage is just part of the process, and it will come together as you continue building.
Roof Panels and Insulation
Our clear polycarbonate roof panels are one of the few purchases we did have to make. We picked up six sheets at approximately $38 a piece. This is a bit of an investment, but after some trial and error, we found them to be a necessity.
Previously, we had tried using windows for the roof, but they don’t allow the rain to drain properly, which can be both a weight hazard and cause leakage. We constructed the greenhouse at approximately six feet wide, which allowed us to cut our panels in half to span the length of the roof at a reasonable cost. We used the remaining panels to finish the end wall and door.
Additional Insulation for Cold Weather
For the roof portion, we also purchased three cans of insulating foam. The foam was applied, then the panel inserted, then screwed into the two-by-six-inch board. This allowed the foam to expand and seal up the roof portion of the project. You can go in with a utility knife once everything has dried to trim the foam for a neater appearance.
To further insulate our lean-to greenhouse, we purchased two sheets of foam insulation board for $11 each. These were cut to fit on the side wall and the top of the windows. All you’ll need is your utility knife to trim the boards to the appropriate size.
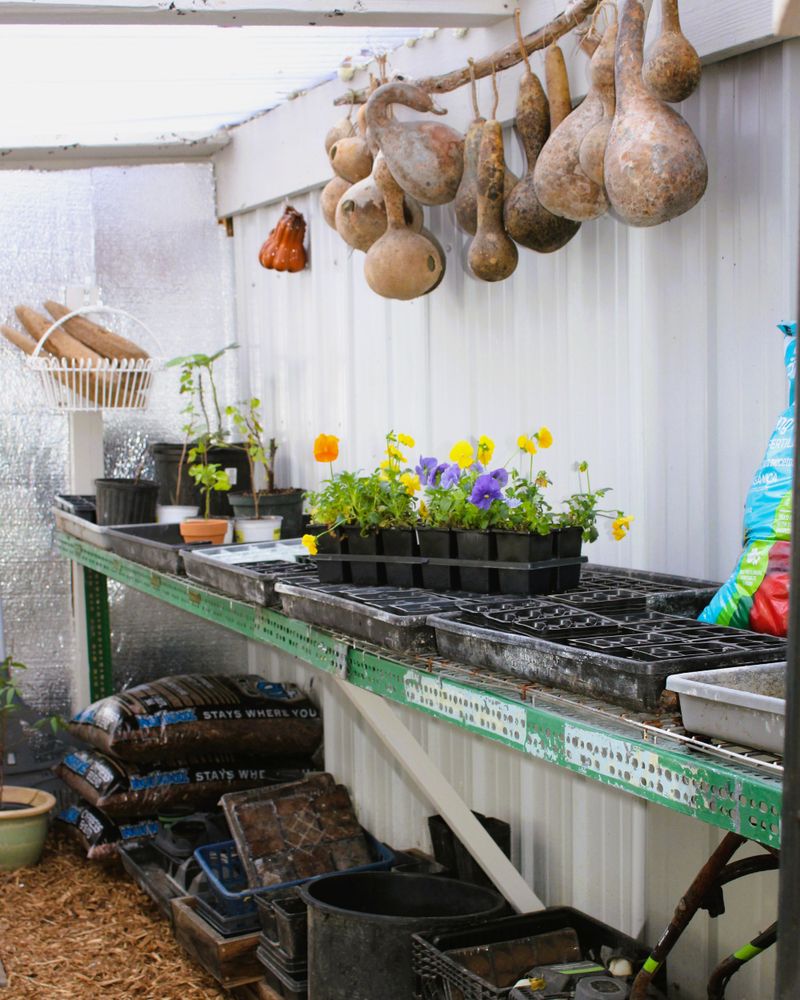
Creating a Functional Workspace
Now that your structure is built, you’ll need a workspace. This doesn’t have to be fancy, but it does need to be sturdy!
We had some old wire shelving that we attached to the pre-existing main wall, along with some additional support from our scrap wood pile. You can use an old table, or you can often find someone getting rid of old counters. Both are simple options if you don’t want to build shelving.
For my seedling trays, I used some rabbit cage pans that I had on hand. Another thing I like to do for affordable seedling trays is to hit the thrift store for cheap casserole dishes. They are sturdy and hold water well, which is important for me as I prefer to bottom water all my seeds. They also look charming in your workspace!
Finishing Touches: Paint and Flooring
You may be looking at what you've built and fretting about appearance. While being functional is the top priority, I also enjoy things that look nice. The easiest fix to that mish-mash appearance of your newly built greenhouse is going to be paint.
You can purchase paint if you like; most stores will have a discounted area with their returned colors or incorrect mixes.
For myself, I dug through the dark back corners of our garage for some leftover paint. I was able to paint the interior and exterior with less than one gallon, pulling the whole look together and giving me a space to enjoy working in.
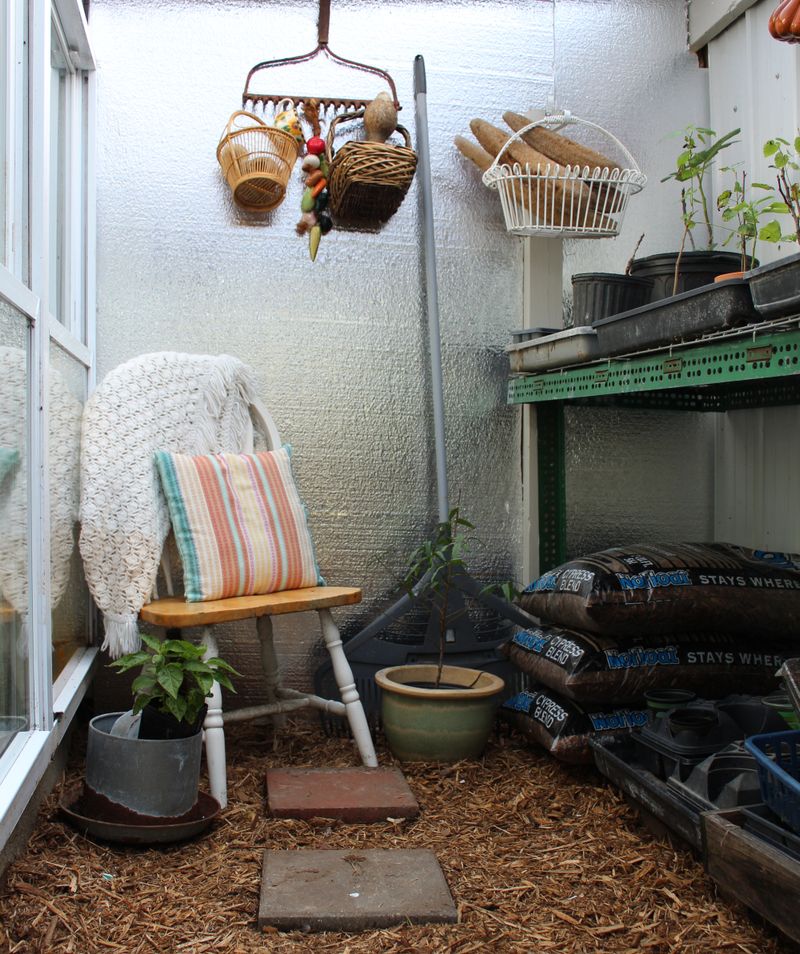
The last purchase we made is totally optional. I wanted some type of flooring as the area we chose to use was previously just grass and soil. We opted for a few bags of mulch. I had leftover landscaping fabric from a previous project, but you can use anything you have lying around; empty feed bags can make a great weed stop. Not only is the appearance nice, but the mulch will help generate warmth.
Final Cost and Takeaway
Overall, we spent about $300 to build a functional greenhouse that will be used for seasons to come.
Tags:Homestead How-To


Acreage Life is part of the Catalyst Communications Network publication family.